


Taking a Full-Screen Snapshot
The quickest and simplest way to take a screenshot in Windows is by using the Print Screen button, which you can find in the upper-right of most keyboards.
The quickest and simplest way to take a screenshot in Windows is by using the Print Screen button, which you can find in the upper-right of most keyboards.
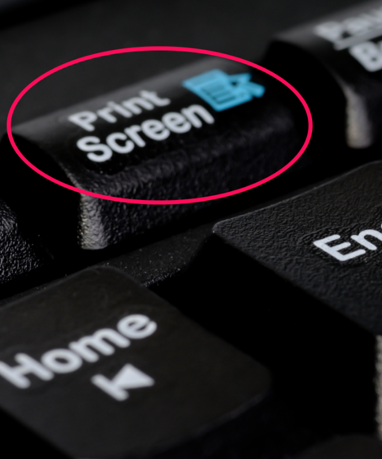
Tap the button once; it will appear as if nothing happened, but this action copies an image of your entire screen to the clipboard. You can then use Ctrl+V to paste the image into a blank Microsoft Word file or an image editing program.
Keep in mind: When you press the Print Screen button, it will take a screenshot of everything visible on your monitor. If you have a multi-monitor setup, it will grab all of the displays as if they are one big screen.
If you want to take a screenshot of the window you have open, you can use Alt + Print Screen to better target your snap.
You can use the Snip & Sketch tool to take accurate, targeted screenshots.
Go to the Start Menu and navigate to the Snip & Sketch tool in the menu bar. (If this application doesn’t show up in the menu bar, you can use the Search Programs and Files feature at the bottom of the menu to locate it.

When you open the app, you’ll be provided with a toolbar to capture four different types of screenshots (what Windows users call “snips”): rectangular snip, freeform snip, window snip, and full-screen snip.
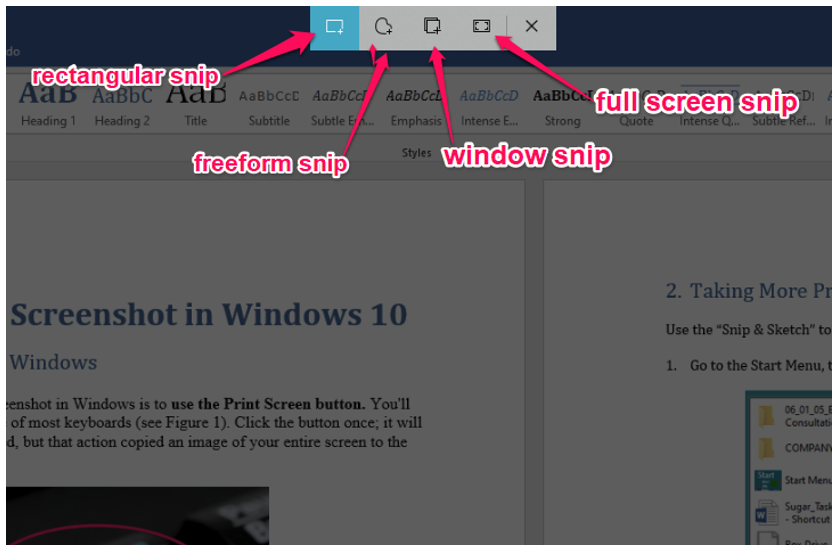
The most commonly used option is the rectangular snip, which allows you to drag your mouse over the exact area of your screen that you want to grab.
If you plan to use the rectangular snip feature consistently, there is a shortcut to launch the app and select this particular feature: hold down the Windows logo key + Shift + S. You’ll be prompted to “Draw a shape to create a screen snip.”