Instructional Photos

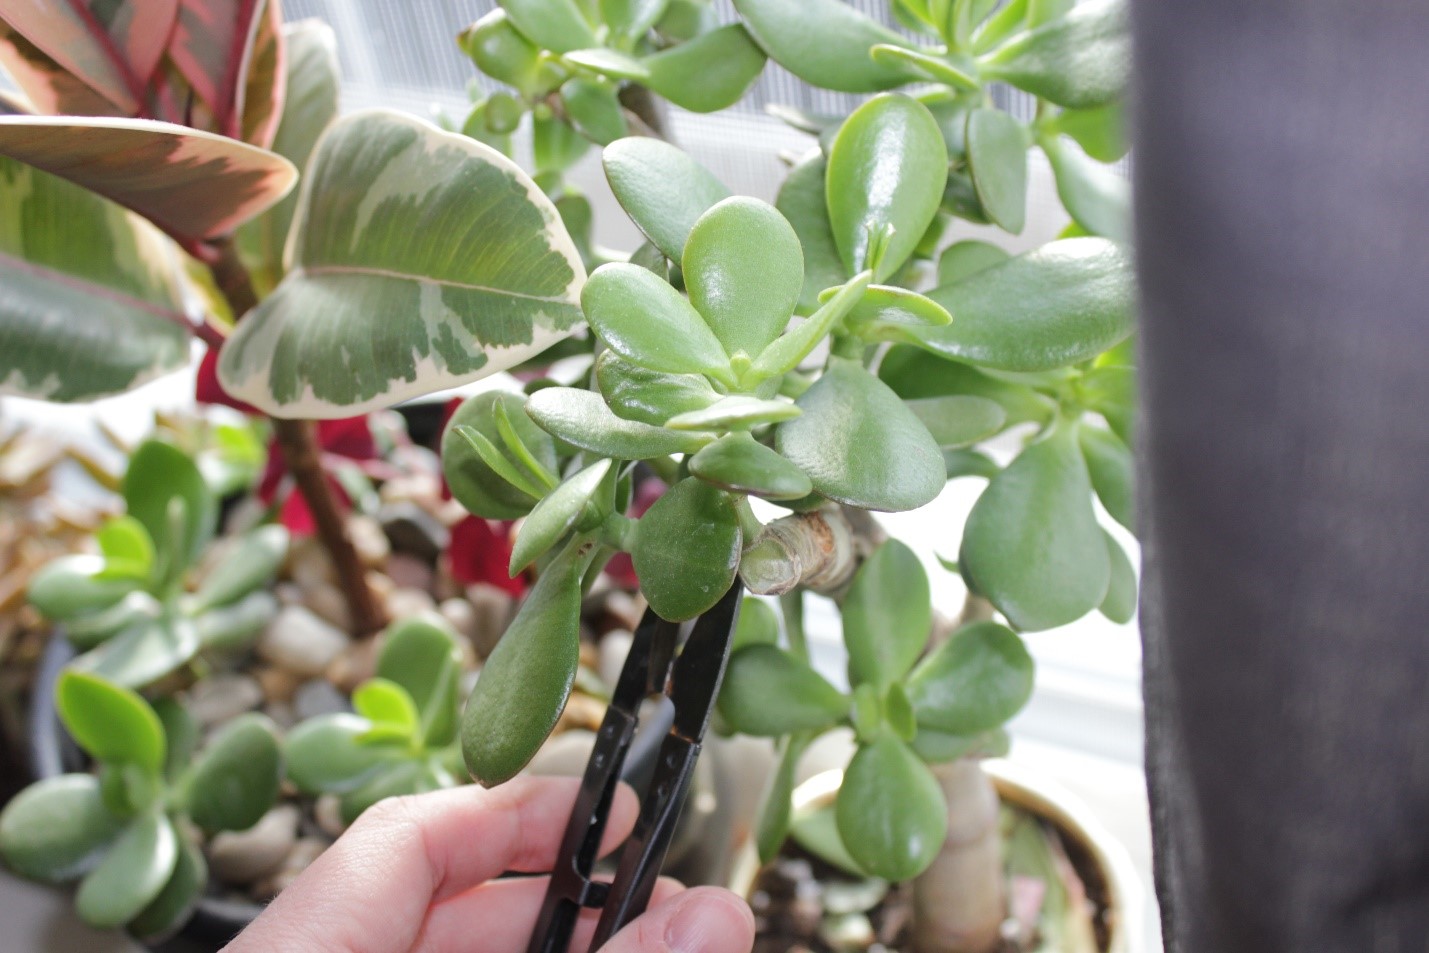
Instructional photos may:

  • Outline a step-by-step process (i.e., “how-to” photos).
  • Identify parts of a larger whole (i.e., parts of machinery).
  • Identify tools (i.e., lab equipment).
  • Identify elements of the photo itself (i.e., call-outs to shadows, lighting, composition, etc.).
  • Consider the importance of what is being demonstrated.

Best Practices for Step-by-Step Photos

Make a plan. 

  • Write out the steps you want to cover ahead of time (this can inform captions later).
  • Thoughtfully plan the environment and setup. Consider:
    • Is the lighting good?
    • Is the background clean and clutter-free?
    • Will you have access to the same space or equipment later if you need to retake photos? (This will help to maintain a consistent appearance between photos.)
  • Do you need help from others? (See Licensing Considerations earlier in this guide.)

Examples of poor instructional photos:

Alt Text

Figure 7. In this example, which demonstrates how to take a succulent cutting, the eye is distracted by a cluttered background. Additionally, and most importantly, the reader cannot clearly see where the scissors are cutting, which is vital in this instance.

Alt Text

Figure 8. In this example of a succulent cutting, the eye is confused by the clutter that surrounds the important element. The image is also poorly lit.

Examples of good instructional photos:

Alt Text

Figure 9. In this image demonstrating a succulent cutting, the background has been improved, and the focal point leads the eye to the correct place to snip the plant. This is also a great example of depth of field.

Alt Text

Figure 10. In this image, the cut piece of the succulent is the sole focus, and size is clearly demonstrated by including a human hand for scale.